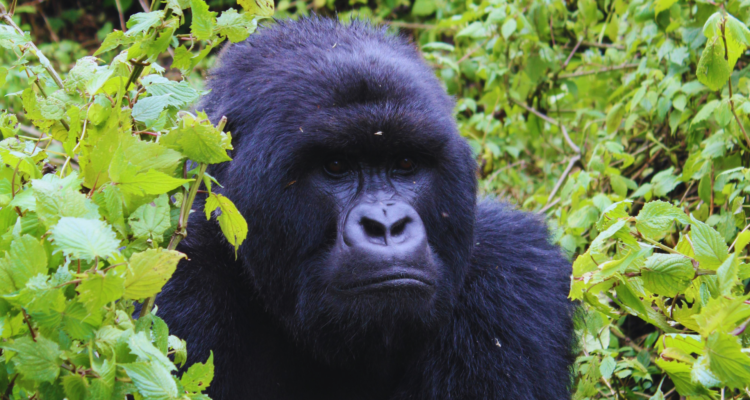
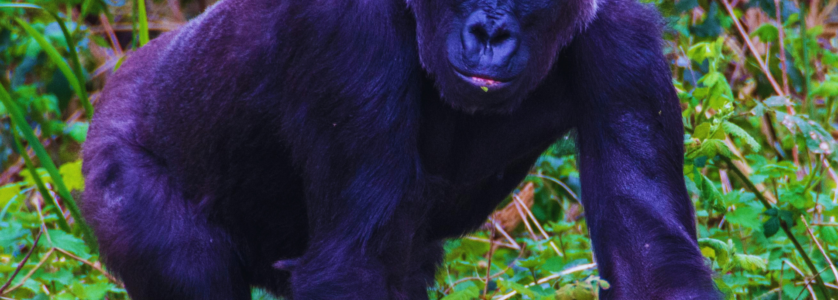
You are staring at the permit booking page, weighing a massive financial decision. A standard gorilla trekking uganda permit costs $800. The Gorilla Habituation Experience, exclusively available in Bwindi’s Rushaga sector, commands upwards of $1,500.
For the casual tourist, spending an hour taking smartphone videos is enough. But you are carrying $10,000 worth of glass and sensor. You need portfolio-grade imagery. You need clean backgrounds, dynamic interactions, and the elusive eye-contact portrait. Does quadrupling your time in the jungle mathematically quadruple your chance of getting the shot, or just increase your physical exhaustion?
Having guided complex photographic expeditions through East Africa, I have tracked both fully habituated and semi-habituated troops. The fundamental difference is not just duration; it is behavioral predictability and your physical positioning relative to the light.
Here is the unvarnished, minute-by-minute breakdown of what actually happens on the ground, mapping primate movement against your camera settings.
The 1-Hour Standard Trek: A Minute-by-Minute Photographic Timeline
Standard treks target fully habituated gorilla families. These primates view humans as neutral elements in their environment. They will not flee, but they will not pose for you, either. When the trackers clear the final brush, a strict 60-minute countdown begins.
Minutes 1–15: The Chaotic Approach
- Gorilla Behavior: The family is often dispersed. Some are feeding on terrestrial herbs; others are high in the canopy.
- Photographic Reality: Pure chaos. The trekking group of eight tourists is jockeying for position. You are dealing with sudden light changes, massive exposure shifts, and obscured sightlines.
- Your Positioning: Do not fight the crowd. Hang back. Let the tourists exhaust their initial excitement. Lock your camera into Shutter Priority (at least 1/800s) and Auto-ISO to handle the unpredictable dappled light.
Minutes 16–45: The Feeding Window
- Gorilla Behavior: The silverback usually establishes a stationary feeding position. Juveniles might circle him.
- Photographic Reality: This is your primary shooting window. The group spreads out, giving you room to maneuver.
- Your Positioning: Drop to your knees or stomach. Shooting upward isolates the gorilla against the darker mid-canopy rather than the blown-out sky. Anticipate the silverback’s arm movements to catch the moment he strips a branch, exposing his face to a shaft of natural light.
Minutes 46–60: The Departure Shift
- Gorilla Behavior: Having stripped the immediate area of vegetation, the silverback signals movement. The family begins traversing to a resting site.
- Photographic Reality: You are now shooting moving targets in low-contrast environments.
- Your Positioning: Step off the immediate trail path (following ranger guidance). Switch to continuous tracking autofocus (AF-C) and capture environmental portraits as the primates push through the thick green foliage.
The 4-Hour Habituation Experience: Deep-Dive Timeline Mapping
The Habituation Experience tracks semi-habituated troops. These gorillas are actively undergoing the multi-year process of tolerating human presence. They are skittish, highly mobile, and unpredictable. This permit demands peak physical fitness and advanced technical shooting.
Hour 1 (Minutes 1–60): The Evasion Phase
- Gorilla Behavior: The troop hears your approach and actively moves away. They retreat into the densest, darkest thickets of the Rushaga sector.
- Photographic Reality: Extremely frustrating. You will shoot through heavy brush. Light levels plunge to zero.
- Your Positioning: Keep your camera securely strapped. Focus on maintaining your footing on the steep inclines. Only attempt shots when the troop pauses to assess your threat level. Push your ISO to 12,800+ and shoot wide open at f/2.8.
Hour 2 (Minutes 61–120): The Testing Ground
- Gorilla Behavior: Realizing the tracking team and researchers are not a threat, the silverback halts the retreat. The family begins cautious feeding, constantly watching the researchers.
- Photographic Reality: You finally have line-of-sight, but the subjects are partially obscured.
- Your Positioning: Stay low and remain perfectly still. Let the gorillas dictate the distance. Use a 70-200mm lens to compress the background, throwing the distracting foreground vines out of focus.
Hour 3 (Minutes 121–180): The Rest and Grooming Cycle
- Gorilla Behavior: The golden hour of habituation. The family enters their midday rest cycle. Mothers groom infants; juveniles engage in mock battles.
- Photographic Reality: This is why you paid $1,500. You have an extended, uninterrupted window to shoot intimate behavioral interactions in a static environment.
- Your Positioning: Because the gorillas are stationary, you can meticulously map the canopy light. Find a gap in the overhead leaves acting as a natural spotlight. Position yourself so the subject is illuminated by this shaft of light while the background falls into deep shadow.
Hour 4 (Minutes 181–240): The Acceptance Phase
- Gorilla Behavior: The troop completely ignores your presence. They may graze directly toward you or walk within inches of your boots.
- Photographic Reality: Breathtaking proximity. Telephoto lenses become a liability.
- Your Positioning: Switch to a 24-70mm lens. Capture wide-angle environmental portraits that show the immense scale of the primates against the towering prehistoric ferns of Bwindi.
Strategic Comparison: Habituation vs. Standard Format
Choosing your permit dictates your loadout. Use this matrix to align your gear with the specific demands of your uganda gorilla trekking format.
| Photographic Variable | 1-Hour Standard Trek | 4-Hour Habituation Experience |
| Primary Lens Choice | 70-200mm f/2.8 (Versatility) | 70-200mm f/2.8 & 24-70mm f/2.8 (Two bodies) |
| Subject Behavior | Predictable, static feeding. | Highly erratic, eventual deep relaxation. |
| Crowd Control | High. You are sharing angles with 7 other tourists. | Minimal. Only 4 tourists allowed, plus researchers. |
| Lighting Strategy | Reactionary. Shoot what you get. | Proactive. You have time to wait for the light to shift over a resting silverback. |
| Physical Toll | Moderate. | Extreme bushwhacking off-trail. |
The Habituation Experience is not a luxury upgrade; it is a grueling, tactical expedition alongside field researchers. However, the sheer volume of time it grants you to overcome poor lighting, wait out sudden rainstorms, and witness the full spectrum of wild primate behavior makes it the undisputed choice for serious wildlife photographers.
Frequently Asked Questions
Is the Habituation Experience guaranteed to last exactly 4 hours?
The four-hour clock begins the moment the researchers establish visual contact with the gorilla family. However, if the gorillas charge aggressively, cross a deep ravine that humans cannot safely navigate, or enter a protected breeding zone, the head ranger retains the authority to terminate the trek early for safety reasons.
Can I use a monopod during a gorilla habituation trek?
Yes, but it is rarely practical. The terrain in the Rushaga sector is heavily sloped and choked with vegetation. You will spend most of your time shooting from a crouched or seated position. A monopod is more likely to snag on vines than provide stability. Rely on your camera’s In-Body Image Stabilization (IBIS).
Will the researchers get in the way of my photographs?
Researchers are collecting fecal samples, noting behavior, and monitoring the gorillas’ health. They move efficiently and respectfully. Because habituation groups are limited to only four tourists, you will have vastly more physical space to find a clear shooting angle than on a standard trek.
If the semi-habituated gorillas run away, do we chase them?
You will follow them, but you will not chase them. The trackers employ specific vocalizations (like the “belch” sound) and move at a deliberate, non-threatening pace to signal that you are not predators. It requires immense patience.